Step 1 Backup vCenter
Step 2 Snapshot vCenter
The certificate authority i was using was Windows Server 2022
I’d used this article to create a template, Remoted onto the certificate server:
https://knowledge.broadcom.com/external/article?articleNumber=315271
Creating a new template for vSphere to use for VMCA as a Subordinate CA
- Connecting to the CA server, you will be generating the certificates from through an RDP session.
- Click Start > Run, type certtmpl.msc, and click OK.
- In the Certificate Template Console, under Template Display Name, right-click Subordinate Certificate Authority and click Duplicate Template.
- In the Duplicate Template window, select Windows 7 / Server 2008 R2 Enterprise for backward compatibility.
Note: If you have an encryption level higher than SHA1, select Windows Server 2012 Enterprise.
- Click the General tab.
- In the Template display name field, enter vSphere VMCA as the name of the new template.
- Ensure Publish certificate in Active Directory is selected.
- Click the Extensions tab.
- Click Basic Constraints and click Edit.
- Click the Enable this extension check box and click OK.
- Select Key Usage and click Edit.
- Ensure that Digital Signature, Certificate signing and CRL signing are enabled.
- Ensure that Make this extension critical is enabled.
- Click OK.
- Click OK to save the template.
- Proceed to Adding a new template to certificate templates section in the article to make the newly created certificate template available.
Adding a new template to certificate templates
- Connecting to the CA server, you will be generating the certificates from through an RDP session.
- Click Start > Run, type certsrv.msc, and click OK.
- In the left pane of the Certificate Console, if collapsed, expand the node by clicking the + icon.
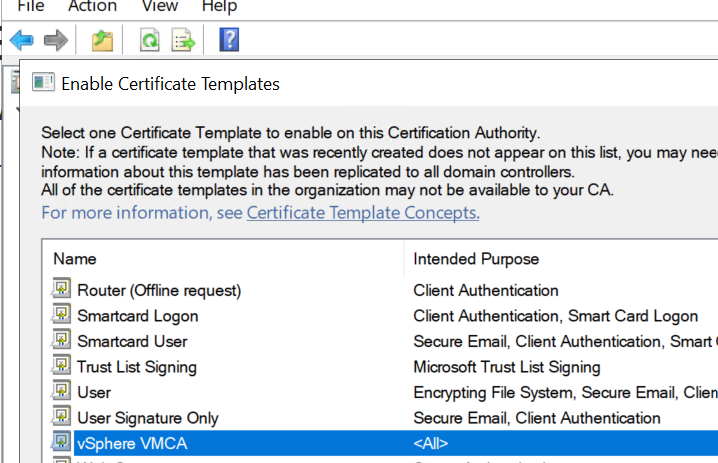
- Right-click Certificate Templates and click New > Certificate Template to Issue.
- Locate vSphere VMCA under the Name column.
- Click OK.
Go back to the vCenter and click the 3 lines on the left, Administration.
Certificate Management:

Click Generate Certificate Signing Request
Complete your information and click next
The output your given, save that in a file called Request.csr (Be sure to remove any trailing spaces)
Take the file or copy the content over to your certificate authority:
I’m using localhost/certsrv:
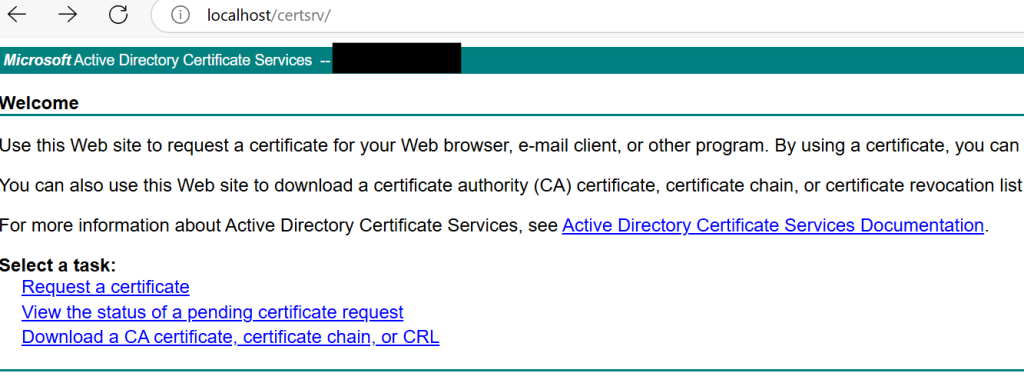
Click request a certificate
then I’d clicked ‘Submit a certificate request by using a base-64-encoded CMC’

Paste your request in the top box and select vSphere VMCA for the template.
In Attributes put san:dns=FQDN of the vCenter server (no HTTPs)
example attributes san:dns=vCenter01.domain.local
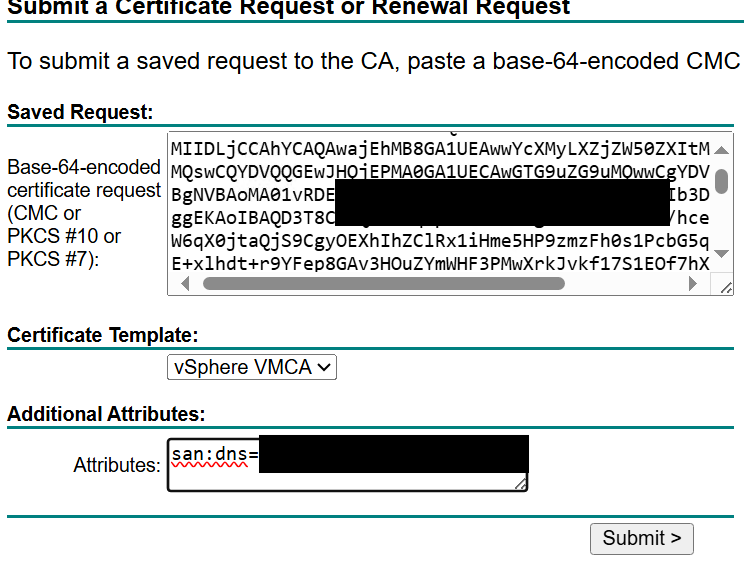
Click submit
Base 64 encoded, then download certificate:
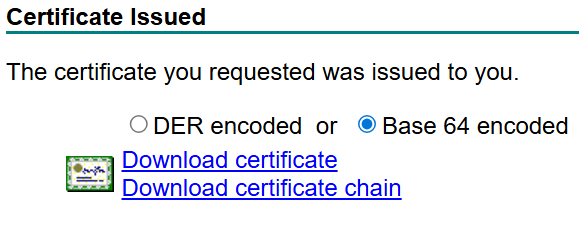
I’d separated out the certs by downloading the two files above. first one is the certificate i called that Cert.csr.
Second file gave me the root and issuing certificate, i called that Root.csr
i setup the root and issuing certificate in a single file like this called Root.csr:
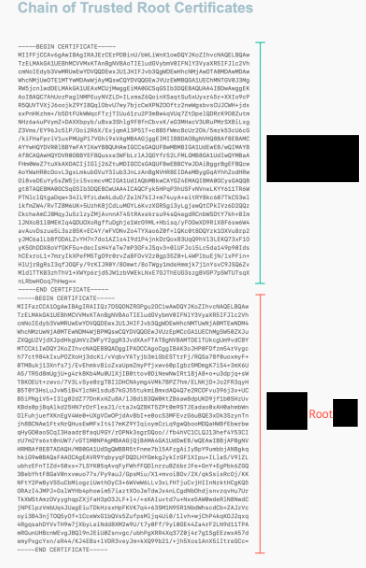
Bottom Root, Top issuing CA
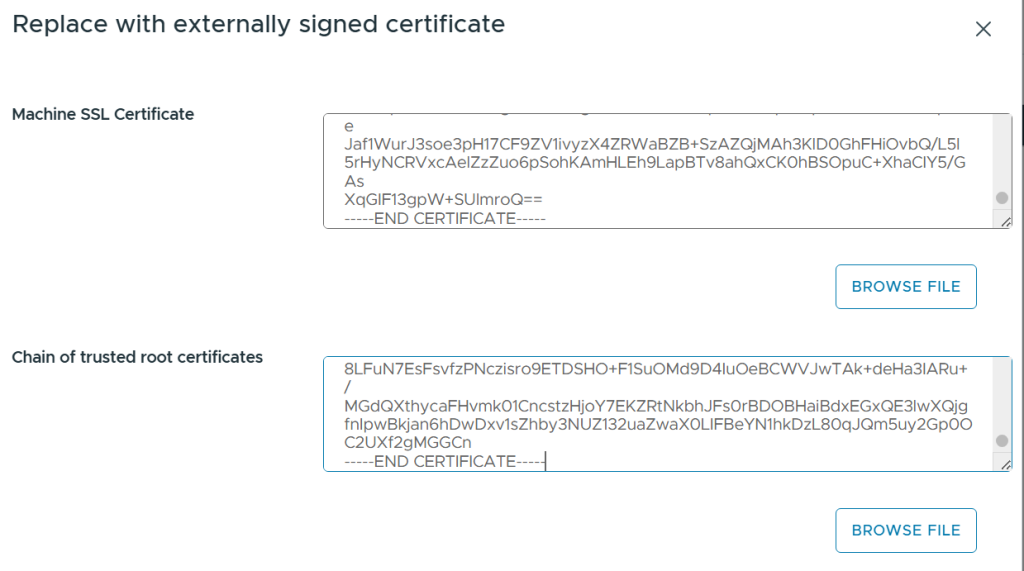
Click Import and replace in vCenter:

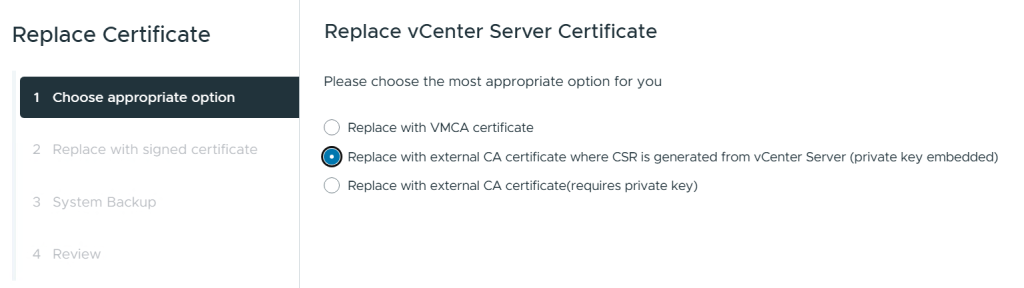
Cert.csr in the top, root in the bottom:
That worked spot on for me
Leave a Reply